 Skip to content
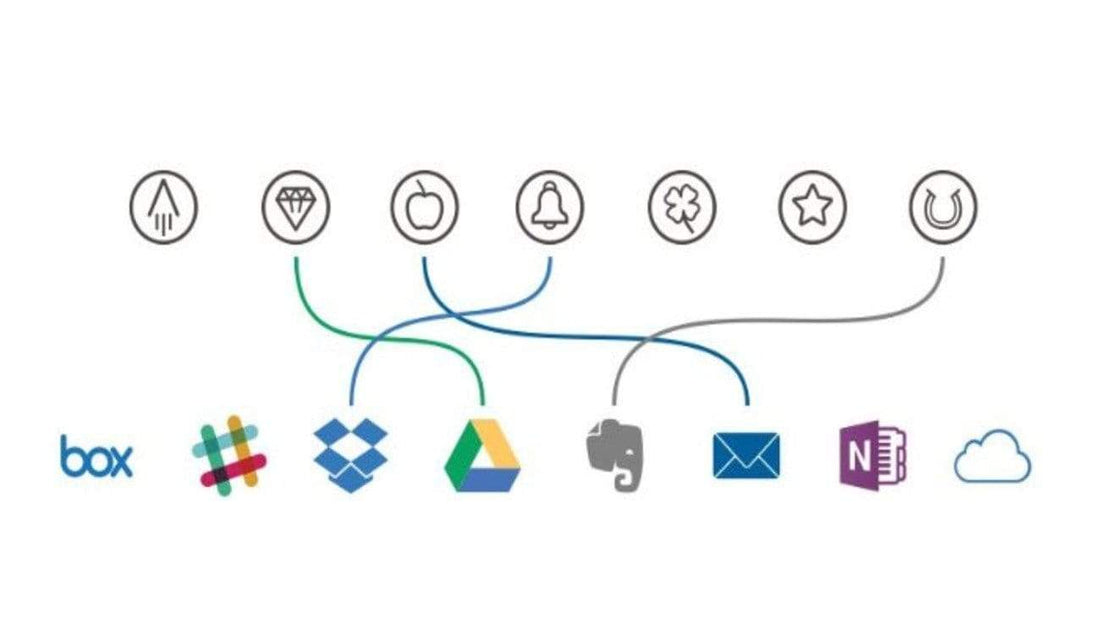
First, you have some decisions to make. Before setting up your Rocketbook app, decide what kind of content you’ll be blasting to the cloud. You may have destination folders in mind already. If not, go into your cloud services and create new destinations for Rocketbook content. For example, a student may want to centralize her math notes to a single folder. A business person may want to share notes with his entire team. A husband may want to e-mail love letters to his wife. Rocketbook pages have seven icons, which means you can choose up to seven destinations. Once you decide on, and/or create these destinations, you’ll be well on your way. If you want to remember these destinations, there is space to do so on the inside cover of your notebook. If you use a FriXion pen, you can always erase or revise your destinations later.
Second, open your Rocketbook app. Click on the destinations button and find where each icon can be configured. For each new cloud service you decide to use, you will have to log in to that service through the Rocketbook. app. Navigate to your desired destination, save your settings, and repeat for each icon configuration. Your app will now be configured to send your content to every icon that you set up.
Third, set your advanced preferences. You can decide whether you want your content to blast your pages manually or automatically, and what format you prefer for your pages to be sent in.
Fourth, start writing on your pages, and don’t forget to mark one or more symbols on the bottom of each page to send high resolution images to the destinations you’ve configured in the Rocketbook app. The app “sees” your marks and sends your notes to the places they belong online.
Finally, scan your completed pages. Our sophisticated machine vision makes your job simple. Hold your phone above the book, and in milliseconds, the Rocketbook app will detect your page. When the space over your page turns green, that is a signal that your page has scanned and you can keep scanning as you flip to the next page, and the next. The Rocketbook app not only scans, but produces images more crisp and vibrant than the real thing.
Pro tip: Scan often. The beauty of the Rocketbook system is that by archiving your notes in the cloud, you never need the notebook itself in order to access your pages. Go ahead--forget your notebook at home. Leave it on an airplane by mistake. With Rocketbook, so long as you scan your pages often, you’ll never lose your work!


15 comments
Wow, I just started using the Everlast and it’s awesome. It is my new business notebook. I can already see how it’ll be beneficial for my personal notes as well.
Great job product.
Mark
Ok, I linked to my email. I scanned a page, now what? where do I go to see this? Your instructions are terrible; maybe only a geek would know what to do with this…
How do I set up my rocketbook to different notebooks in OneNote?
Another Pro Tip: Set up the intended destination folders and such before you start the set up in the app! Unless you don’t care if things are just blasting around randomly in your cloud. In that case, carry on.
(You can move stuff after the fact but why when you can do it right the first time? Which I didn’t…obviously!)
How do I set up rocketbook onenote with microsoft office business 365 onenote?
I am being asked to grant permissions…