 Skip to content
The ultimate Rocketbook DIY Guide
Greetings, Rocketbook rebels. We’ve witnessed you tinkering, tearing apart, and tying different Rocketbook notebooks together all in the pursuit of personalization. And we’re really quite impressed. We’ve gathered together your best tips and tricks for creating the ultimate Frankenbook.
Keep reading for the how-to guide or skip ahead to get some Frankenbook hacks.
But wait. What is a Frankenbook?
Good question. A Frankenbook is what seasoned notetakers call their customized Rocketbook notebooks. Creating one involves unbinding notebooks, a few accessories, and combining pages into one giant science experiment of a monster productivity tool. So grab your tools, roll up your sleeves, and get ready to bring your Frankenbook TO LIFE!

METHOD #1 — UNCOIL & RECOIL
Here’s a step-by-step guide on how to create your very own Frankenbook. The method involves re-organizing your notebook by removing (and then re-attaching) its binding coil. It’s bound to be easy. Get it?
What You’ll Need:
- Uncoiling Tool (i.e. pliers)
- Clip or clamp
- Dividers, custom pages (optional)
- Larger-sized coil (optional)

What to do:
- Bend: Use pliers to bend the end of the coil binding into a spiral shape, so that it will easily uncoil.
- Uncoil: Spin the coil until fully removed. You’ll want to keep your coil intact, as you’ll be using it to rebind your notebook at the end.
- Rearrange: Mix up the order of the pages as you please. In this step, you can add dividers, custom templates, or pages from other Rocketbook notebooks.
- Align: Put your pages (and the front and back covers) together and tap them on the table to line up the holes. This will help ease the recoiling process.
- Clamp: Use clips or clamps to secure all the pages and covers in place to make sure things don’t move around when you recoil.
- Re-coil: Grab your coil from Step 2 and recoil it through the holes in the notebook. Note: If you’re adding more than 36 pages, we recommend purchasing a larger coil to accommodate for extra pages.
- Re-bend: Use the pliers to close the end of the coil by bending it inwards, securing the notebook. Remove the clamps.
SEE METHOD 1 IN ACTION
METHOD #2 — WASHI TAPE & BINDING DISCS
There is another method of creating a Frankenbook: Washi Tape & Binding Discs. Compared to METHOD 1 of coiling and recoiling, this method requires more supplies and a little more finesse. Enter at your own risk:
What You’ll Need:
- Uncoiling Tool (i.e. pliers or scissors).
- Washi Tape (washi tape is a decorative adhesive tape. You can use any old tape, but Washi tape just adds some flare).
- Binding Discs (think a 3-ring binder without the binder). These are free-floating ring-discs that open and clamp into holes).
- Hole Puncher (no, your fist does not count as a hole puncher).
What to Do:
- Uncoil: Remove the coil from your notebook using the method described in METHOD 1: UNCOIL & RECOIL. (You can also use scissors to cut your pages out of your notebook. You will not need the coil holes for this method.)
- Tape: Put washi tape over the hole-edge of the pages you want in your Frankenbook. Washi tape will secure the edge of your pages and cover up unnecessary holes or fringed edges in your pages.
- Punch: Use a disc hole-punch to create holes through the washi tape-edge of your pages.
- Bind: Use binding discs to hold your pages together using the holes in the washi-taped edge of your Frankenbook. Slide the pages holes into the binding discs to complete your Frankenbook experiment.
SEE METHOD 2 IN ACTION
5 Genius Ways to Use a Frankenbook
#1 — Combine Multiple Rocketbook Notebooks
This one is pretty self explanatory. Frankenbooks are the one place where all your Rocketbook notebooks truly get to hang out and complement one another.
- Fusion and Panda Planner: This combo is perfect for the dynamic goal setter. Look ahead, look back, and look over today with this preparation party of productivity and positive thinking planning. Or just take a few daily or week pages from the planner for a small boost to your Fusion.
- Matrix and Lined Core: This pairing is great for those taking a mix of visual and text-heavy notes. The Matrix offers graph paper for sketching or visual planning. Combine this with the Core’s lined pages for classic notetaking, and you’ve got yourself a notetaking duo of monstrous proportions.
Note: Some customers suggest purchasing an Erin Condren planner and using its larger coil to rebind your Frankenbook (it also comes with decorative planning pages for further personalization).
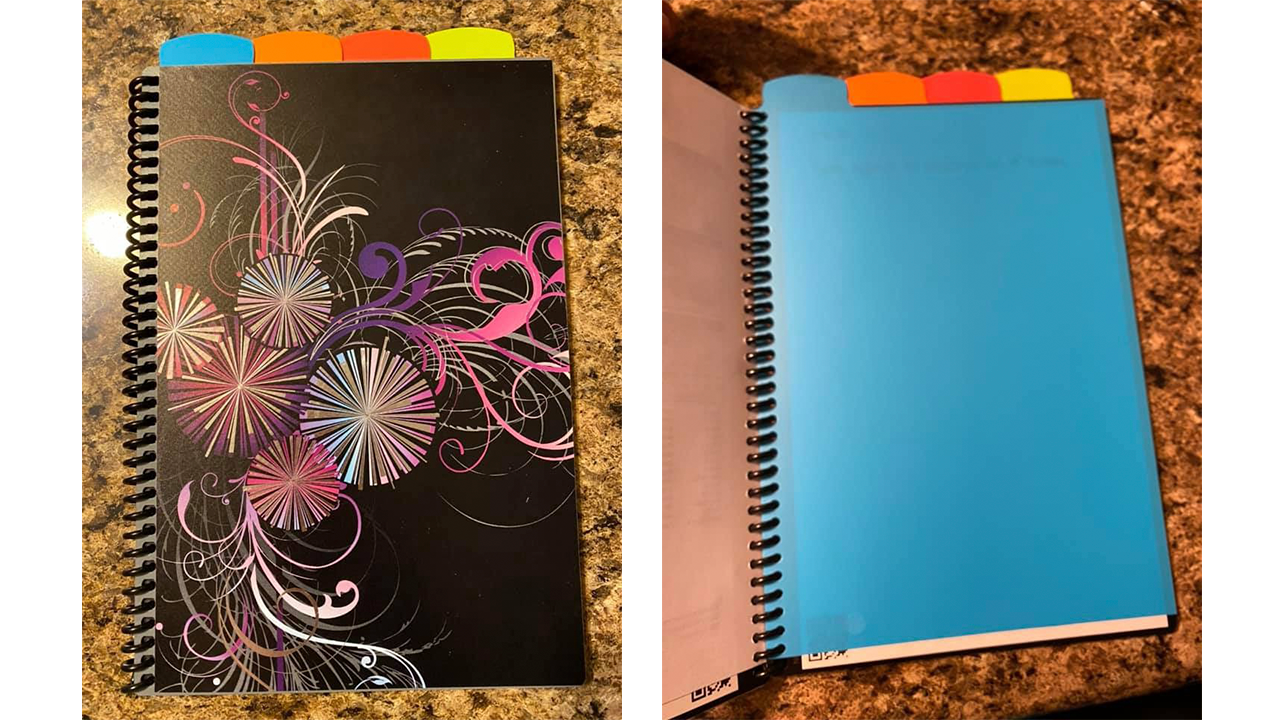
#2 — Add Dividers
Add extra organization to your Frankenbook by adding colored dividers to separate your notebook into sections.
- Sectioned Organization: Split up your notebook into sections for different categories. Take meeting notes in the front, to-do lists in the middle, and planning in the back. Give yourself a one-size-fits-all Frankenbook.
- One Notebook For Every Class: Split up your notebook into sections for different classes. Take math notes in the front, chemistry in the middle, and history notes in the back. See how to use the app to organize class notes into different Google Drive folders.
Shout Out to the Etsy shop RocketTreasures who makes Rocketbook-compatible accessories (shown below).
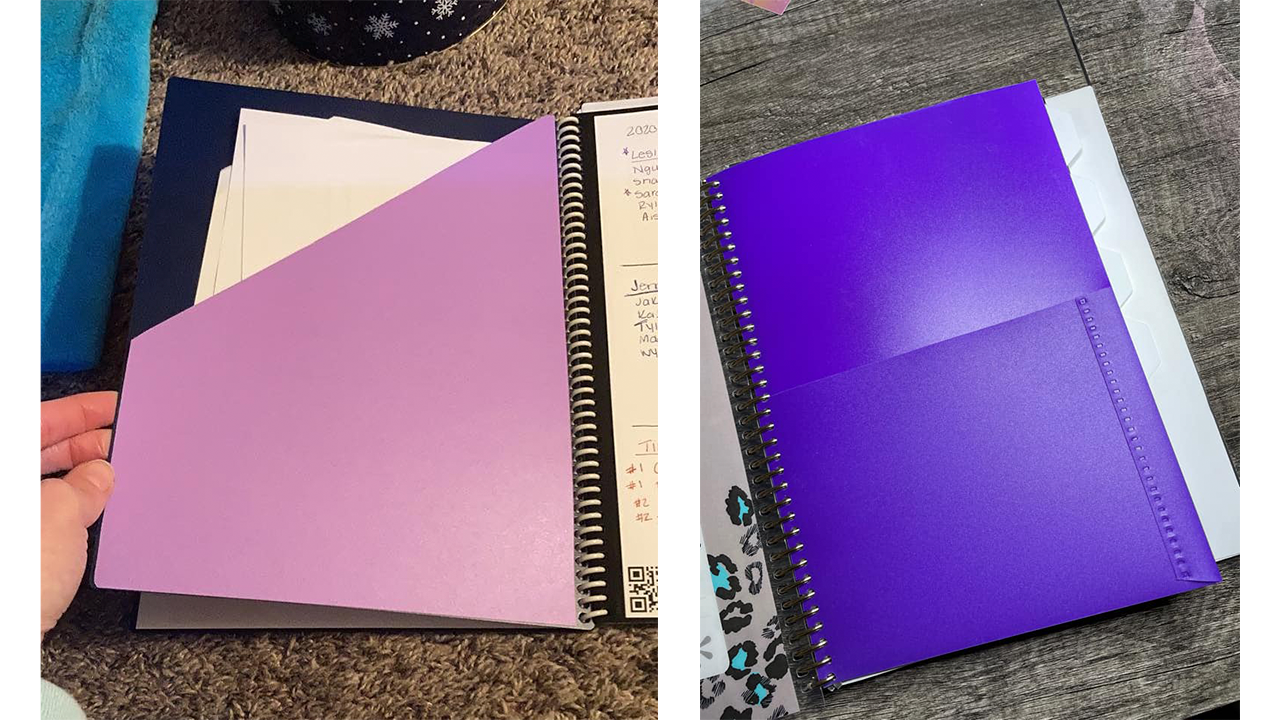
#3 — Insert Plastic Sleeves
Store your whole office (or at least the important parts) in your Frankenbook with the help of a plastic sleeve.
- Bonus Storage: You might have loose papers that are important. We don’t like to think about paper outside of Rocketbook pages, but we know they exist. Keep those pesky loose sheets in a folder built into your Frankenbook to have everything in one place.
- Pens for Days: You never know when a pen might run dry. Keep back-up pens handy so that the ink of your productivity never gets runs out.
#4 — Mix in Other Notebooks
Of course, Rocketbook notebook is enough for any notetaking job. But other notebooks can suit those very niche needs that can only be achieved with a Frankenbook.
- Lined notebooks: Not all handwriting is the same. If you prefer wider lined pages, or darker lines to take notes on, adding in pages from a non-Rocketbook notebook could be your thing.
- Coloring books: We’ve yet to see this done, but add some stress relief into your Frankenbook by attaching a coloring book!

#5 — Binders
Once you’ve combined your pages, dividers and other notebook accessories into the perfect Frankenbook, you’re going to want to protect them.
- Visual Cues: Color coded binders both protect and organize your notebooks as needed. Have a binder for school and another binder for creative work, all sorted out by color.
- Notebook Security: Backpacks can be a treacherous place for notebooks. Who knows what’s in there to scratch and scuff your precious notes. Add a layer of protection with a binder’s hard cover to keep everything intact.
It’s ALIVE!
Now that your Frankenbook has come to life, superhuman productivity is at your fingertips. Use this personalized notebook carefully though, as it harnesses the power multiple Rocketbook notebooks, a power not meant for any mere mortal. A big thank you to the Rocketbook Users Facebook group for the Frankebook inspiration, and check out the group for more Rocketbook customization tips!


