 Skip to content
Google Photos allows you to back up your photos and videos for free. Integrate your Google Photos account with the Rocketbook app and your notes will be sent directly to your preferred folder. Follow the step-by-step setup process outlined below to set-up Google Photos as one of your app Destinations.
Please note the Google Photos integration is only available on Android.
Step 1: Choose Photos As A Destination
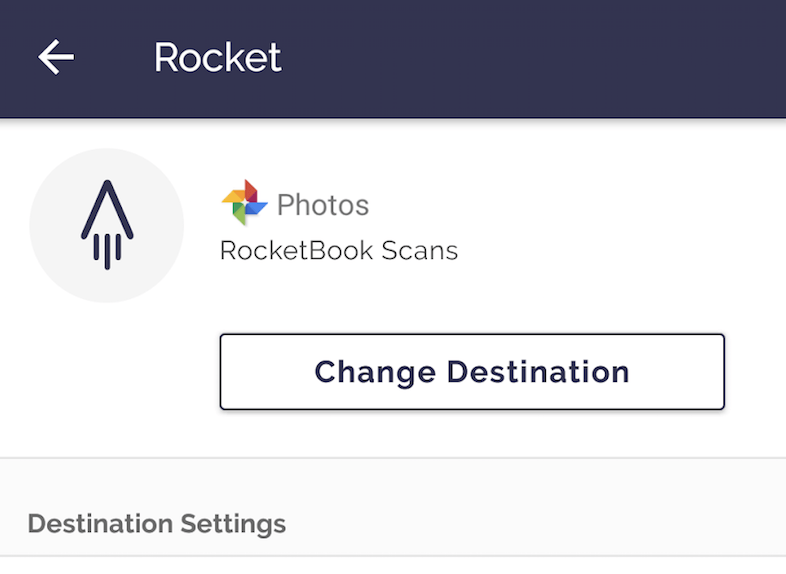
Open your Rocketbook app and select Destinations at the bottom right of the screen. You will see seven symbols appear, these represent your seven destinations that can be set up. Select one of the symbols and tap on Change Destination to see the list of integrations you can connect to. Select Google Photos to begin setting up this integration.


Step 2: Name your folder in Google Photos
Now you’ll be prompted to enter a name for the folder that holds your Rocketbook scans. After you’re done, tap the Save button.

Step 3: Consider Destinations Settings
Congrats, your Google Photos integration is now set up! To get the most out of this destination, explore your Destination Settings. Here you can decide if you want to set up Auto-Send or turn on the animated GIFs feature.

If you have any additional questions about setting up Google Photos with your Rocketbook app, please send us a note at feedback@getrocketbook.com.


