Organize your notes (and filter by topic).
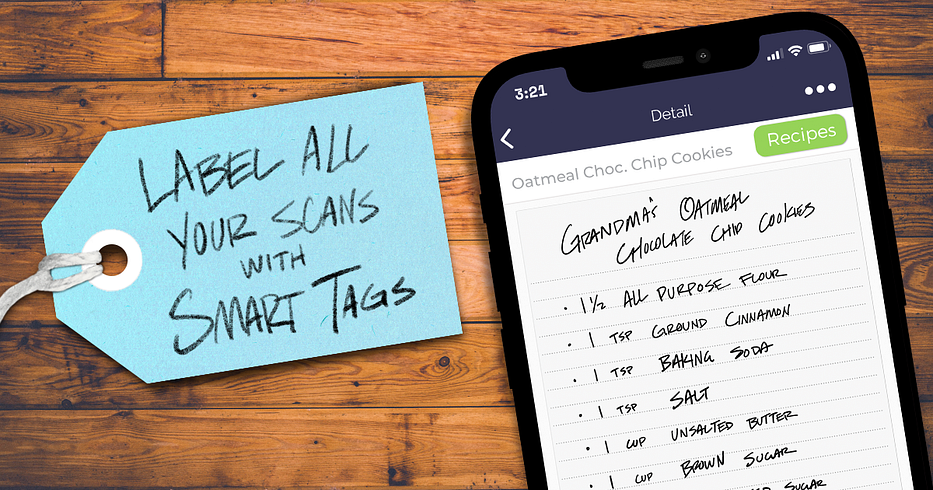
It’s happened to all of us: our desks get overloaded with notebooks, coffee mugs, and pens scattered in every direction. Just like how the History page of the Rocketbook app gets overloaded with scans in disarray. Well, we’ve got good news (for your app’s History screen, not for your desk): Rocketbook’s Smart Tags feature lets you categorize scans for easy organizing and access.
Note: You must update the Rocketbook App to version 3.3 to use Smart Tags.
Keep reading to learn more about how our Smart Tags feature will help you label all your scans!
What are Smart Tags?
Smart Tags is a feature in the Rocketbook App that allows you to add tags to your scans to organize your notes into categories. In the History section of our app, filter by Smart Tag to see only the scans in a single category.
How do Smart Tags work?
To use Smart Tags, scan your page like you normally would. Then, create a new tag by –or select an existing tag–and add it to your scan. Now you can filter all your past scans in the History section of the app by Smart Tag.

Smart Tags will also be sent to many of the Cloud destinations your scan is sent to. That means if add the Smart Tag “Q3 Projects” to a scan, that tag will carry through to when you send the scan to your Trello, Box, or Evernote.

Don’t worry if you added the wrong tag, as you can always manually edit, delete, and add tags in the app. You don’t have to add Smart Tags to every scan either, it is simply an option.
Using Smart Tags
Now that you know how Smart Tags work, let’s get to the fun stuff: using this feature to label all your scans from the beginning of time. Studies have found labeling things to be a foolproof way to stay organized. Labels and tags help make sure you add sugar, not salt, to your morning coffee. In other words, a world without labels would be disgusting.

That’s why we created Smart Tags, so finding scans in the Rocketbook app can be a delicious experience. Once you scan something with the Rocketbook App, you can use Smart Tags to label it for easy access. Being able to filter notes by category gives a boost to your organization, one tag at a time. Don’t forget that you can also use the Rocketbook App to send your tagged notes to any of your favorite cloud destinations! It’s the power of digital labeling, in the palm of your hand (literally).
Smart Tags Examples
Not sure how to start using Smart Tags? Here’s some inspiration:
- Multitasking Pro: There’s work life, then there’s home life. Those notes are very different, but equally important. Add Smart Tags like “Work” and “Personal” to make sure meeting notes don’t get mixed up with your kids’ schedules.
- Wellness Expert: With meal planning, workout schedules, and meditations to keep track of, it can be difficult to stay zen. Use Smart Tags.
- Organization Guru: If you already use tags
- Star Student: At first glance, it’s hard to tell History notes from Psychology notes. With an exam in a few days, you need to find your notes ASAP. Search your scans by Smart Tags to quickly find all scans tagged “Psych” or even “Chapter 8”.

Get Smart
Don’t be stressed out by all your scans ever again, because accessing your notes just got a lot easier with Smart Tags. Now that you’re a Smart Tags expert, go on and tag all of the scans to your heart’s content.
Note: You must update the Rocketbook App to version 3.3 to use Smart Tags.


