 Skip to content
Posted by Beth Cubbage on June 21, 2018
Microsoft OneNote is one of the best note-taking tools out there. It offers multiple levels of organization and lots of note-taking options (like drawing and embedding Excel). If you’re new to OneNote, a few simple steps will get you started off right. Current OneNote users will need to follow a few simple steps to make sure that existing notebooks can connect to the Rocketbook app. Let’s do it!

You’re New to OneNote
If you don’t use OneNote at all, but want to start, you’re in good shape! In the OneNote desktop program, go to File > New and select OneNote to create the notebooks that you would like. Make sure to create each notebook on OneNote, not on your computer.
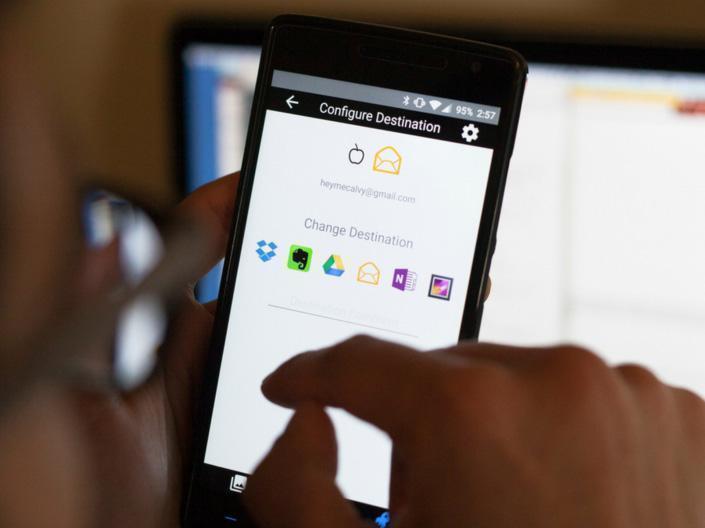
Once your notebooks have been created on OneNote, add the tabs that you want to use. Make sure to have a “Notes to File” tab in each notebook as a repository for your unfiled Rocketbook uploads. After that, it’s simply a matter of connecting each “Notes to File” tab to a Rocketbook symbol in the Rocketbook app. Fistbump.
You Already Use and Love OneNote
If you’re already a OneNote user, you’ll need to make sure that your notebooks are saved to the cloud. This allows the notebook to receive uploads from your Rocketbook app. To see where your notebooks are stored, simply right-click on the notebook and select “Properties”. The Location field will say “Documents” (or another local directory) if the notebook is saved to your computer. If the notebook is in the cloud, the Location field will say “OneNote.”
If you have any notebooks saved locally, you’ll need to transfer them to the cloud. Notebooks that haven’t already been shared can easily be saved to OneNote with these simple instructions. If you’ve already shared the notebook in another location, you may get an error saying that the notebook cannot be moved. In that case, you’ll need to follow a slightly more involved process to recreate the notebook in OneNote, and then move the tabs. The steps are documented here.
After all of your notebooks are in OneNote, take the opportunity to organize your notebooks and tabs. Create a “Notes to File” tab in each notebook and connect it to a symbol via the Rocketbook app. You’re ready to rock!
If you're looking for further step-by-step details for connecting to OneNote, check out this blog post.
--
About the Author: Beth Cubbage is a consulting manager at a software company and mom to two girls. Beth has a PhD in Economics, which she uses to design various incentive programs for her kids’ bedtime (still working on that). When she isn’t wrangling work projects or family activities, Beth writes about career, productivity and parenting at ParentLightly.com. In her (very) spare time, Beth enjoys mountain biking, martial arts and obstacle races. Beth's Rocketbook Everlast helps keep her sane.


